I love Wednesdays. Time to play along again with all the hotter-notters at Loobylu's. Head over there to check out the cute artwork Claire's featuring this week and to see what's hot and not around the globe!
HOT
Chaxgven Also known as Thanksgiving. We renamed the holiday after receiving this charming invitation a few years ago from my nephew who was then in kindergarten. (In case you don't read invented spelling, it says, "Dear Baicker-McKees Could you come over for Thanksgiving."
Naturally, we couldn't refuse.) Hope you have lots to gve chax for this year; I know we do. And it's not just the food.
The Kitchen That's because of the food. Specifically at the moment because of the Chocolate Amaretto Cheesecake that's about to come out of the oven. (I'll have to add a picture shortly.) Not traditional - but good on any occasion. We're having pumpkin pie too, and lots of other typical Thanksgiving dishes, but I'm planning to give special chax for this dessert. Here's the recipe, which came to me by way of a work colleague of my husband's. Here's the amazing part: it's low fat, but you'd never guess that from the taste. It is, quite frankly, incredible.

Chocolate Amaretto Cheesecake
2 small tubs soft light cream cheese (I've tried fat free, but the texture was weird.)
1 cup sugar
1 cup 1% fat small curd cottage cheese
1/4 cup flour
1/4 cup + 2 Tbsp unsweetened cocoa
1/4 cup amaretto (you can sub almost any liqueur, like creme de menthe, Kahlua, Cointreau)
1 tsp. vanilla extract
1/4 tsp salt
1 egg
4 Tbsp mini chocolate chips
8-9 crushed chocolate wafers OR 2-3 crushed graham crackers OR a 1/3 cup graham cracker crumbs
Extra chocolate bar for making decorative curls (and tiding you over until it's time for the feast)
Preheat the oven to 300 degrees. Prepare a 7 or 8 inch spring-form pan by spraying it lightly with Pam. Then put the cookies in heavy duty zipper bags, squeeze out the air and seal. Recruit your little people to crush them. (Consider double-bagging them if your kids are "enthusiastic" workers - less chance of dog hair mixing in with the crumbs that way.) They can use the traditional rolling pin or canned peas to crush them - or for extra fun, they can run their trucks back and forth over them or stomp them to smithereens with a large toy dinosaur. Sprinkle the crumbs over the bottom of the pan, adding some extra if the bottom isn't covered. Set aside.
Put the first 8 ingredients (cream cheese through salt) in the food processor with the sharp spinning blade thing. Process the heck out of these, pausing several times to scrape down the sides. The mixture should look very smooth and creamy, with only faint traces of tiny white lumps/dots. Add the egg and process just until mixed in. Remove the blade, taking care not to cut yourself or drip chocolate on the dog or kids whining at your feet. Fold in the chocolate chips, then pour the mixture carefully over the crumbs.
Pop in the oven and bake, 45-50 minutes for an 8-inch pan or 65-70 minutes for a 7-inch one. In my oven I nearly always need an additional 5 minutes. The direction says it's done when a knife comes out clean, but I don't think that EVER happens. I look to make sure it seems set (not too wobbly in the middle) and that it's starting to pull away from the sides a tad.
Refrigerate for at least 8 hours before serving. It may crack as it cools, but no worries. Just use your veggie peeler to make lovely chocolate curls (or the grater for grated stuff) for a dense garnish that hides all the flaws. Then eat the rest of the chocolate to keep your strength up.

Coming up with an idea for Once Daily
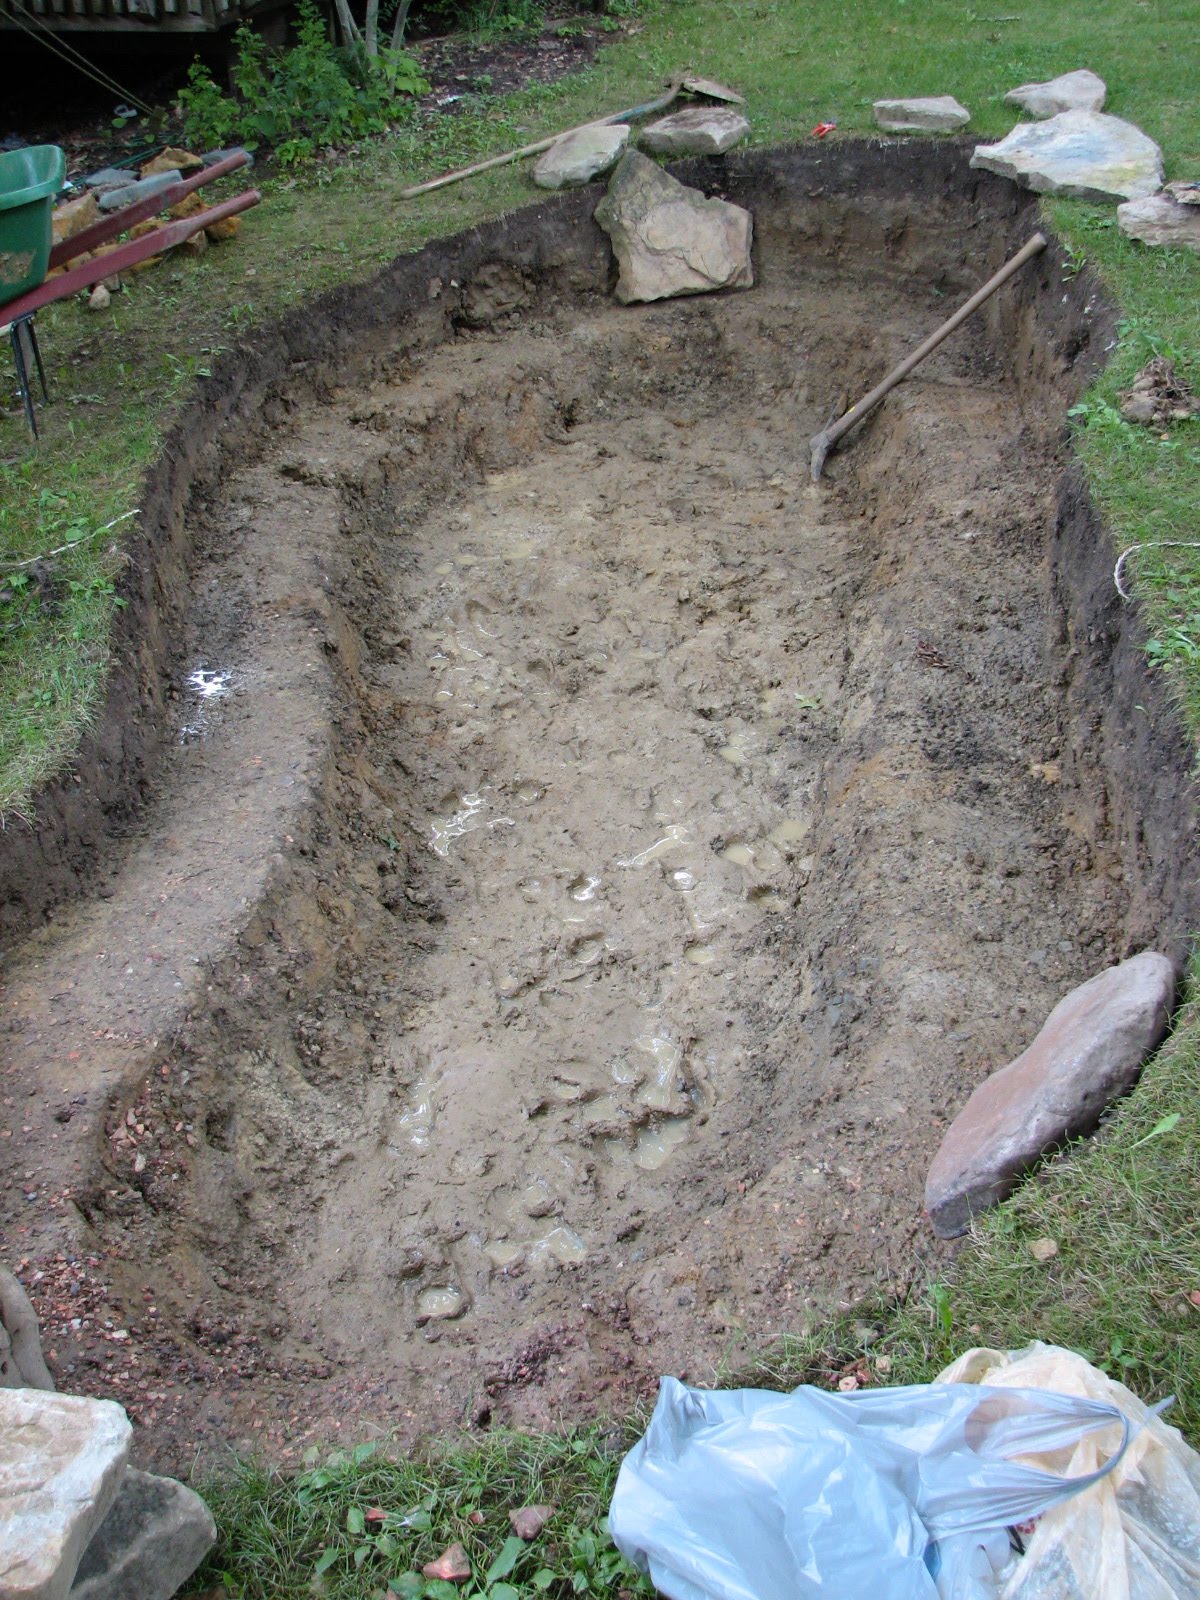
That's Claire's ning-thing where you post one photo a day, usually around a theme. Read more about it here. I'm going to take photos of my new backyard pond. (Just wishing I'd started back when the pond first did. Here some more in-progress pictures. (It's not done yet - but done enough to enjoy.)



Last but not least, gearing up for my second annual Advent blog
Starting Sunday! Over the month (probably not daily, but I'll try) I'll have a little something holiday related. Like the tutorial for these little mushroom houses that I meant to post last year...and lots of other craft ideas too (most kid-friendly). And some recipes, book recommendations, fun if somewhat quirky traditions, and some gift ideas for kids and parents too. I'm working on a few printables and a give-away as well. Any requests or suggestions for other ideas?
NOT
Skipping the nots in honor of the holiday. Must. Bite. Tongue.




 Posts
Posts